Starting From Scratch
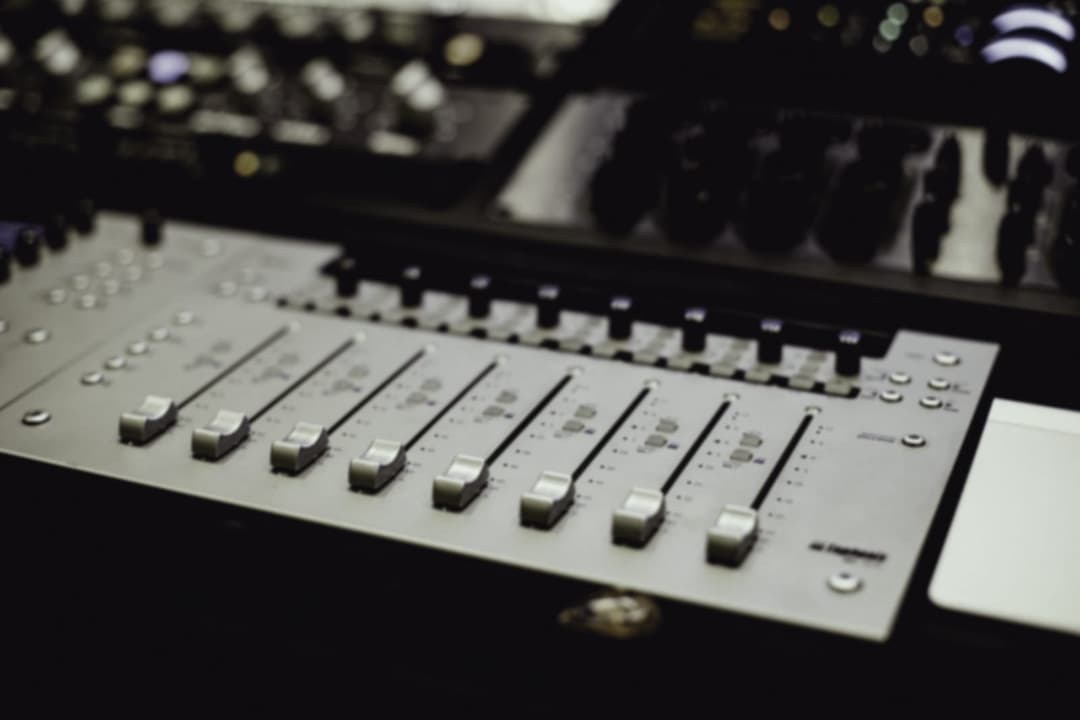
To start at the beginning, always make sure the mixer is 'zeroed' before starting a new project. By that, I mean make sure the input gains are at their minimum settings, the polarity reversals and high-pass filters are switched off, the EQ is set flat and bypassed, the auxiliaries are turned down, and any group routing is deselected. In the case of a digital mixer you could store this as a default memory from which to start each new project.
With the mixer in this kind of 'safe' configuration you can start to build a mix coherently, without having to cope with unwanted signals turning up in all sorts of strange destinations. There is nothing so frustrating, unprofessional and time-consuming as having to hunt down the source of the strange noises coming from one of your effects units! At least with analogue mixers the offending knob can usually be spotted quite quickly, but with assignable digital consoles it can be a nightmare -- hence the importance of always starting from a known safe condition where everything is turned off. If mixing within the computer the same applies though the noise factor isn’t really an issue here, I personally put all faders to zero and mute all tracks before starting.
Subgrouping
It is a good idea to subgroup logical sections of your mix, such as the drum kit or the backing vocals, so that you can control the overall level of the subgrouped elements from a single fader or stereo pair of faders. On a hardware mixer you can do so using the busses-groups.
In computer set up, you have different options, depending of what you want to achieve. You can use busses, pretty much like with hardware, thus allowing you to insert one or more FXs at the group level (affecting all the tracks assigned to the group). Typically, EQ, compression or both, over the whole group.
In Cubase SX you would create a Group Track and then assign all the desired tracks to this group.
In Logic, you would assign each desired tracks to a stereo bus.
I would then suggest leaving the Group/Bus fader @ 0dB, and then start to balance individual tracks.
The other way to group tracks with computer set up is to “link” all the desired tracks the following way. In Cubase SX, in the mixer window, select the desired track, holding shift to select several, then control click and select Link channels, that way if you move the volume of one fader, all the others linked to this one will move as well, by the same amount. In Logic, each audio objects (tracks, instruments, etc..) have a group selector, you have 32 groups, so assign all desired tracks to the chosen groups (you can control more than just the faders, mute, edit in the arrange page, etc..)
Using this method, you will not be able to insert other FXs across the whole group, so why use this method rather than the first one.
If the tracks assigned to a group or buss have Fxs applied to them using the auxiliaries (FX send), typically Reverb or delay. When you lower the volume of the whole group, the amount of signal going to the FXs won’t change in relation, which means that if you were to bring the group fader down completely, you would still get the signal going to the Fxs, thus still hearing them (probably not what you want).
However a fix to that problem is to assign the Fxs themselves to the same group. The only problem for me is when you do a complete mute, it sometimes sounds more natural if you hear the Fxs decay naturally, whereas if the FXs are assigned to the same group, they will be cut as well.