A mix is not a set of static positions. It is a performance — the fader moves, the send opens for one line, the filter closes across four bars. Compression and EQ are how you make each part sit; automation is how you make the arrangement move.
It is also the thing that separates a mix that works from a mix that is merely balanced.
Rides first, everything else after
Before reaching for a compressor on a vocal, try riding the fader. A compressor decides what to do from a threshold and a ratio; you decide from the song. On a vocal with one quiet line in verse two, a 3 dB ride on that line beats 3 dB of extra compression across the whole take — you fix the problem without changing the sound of everything around it.
The professional workflow is usually both: a ride to get the take roughly even, then a compressor to catch what is left. That way the compressor is working gently instead of fighting the performance.
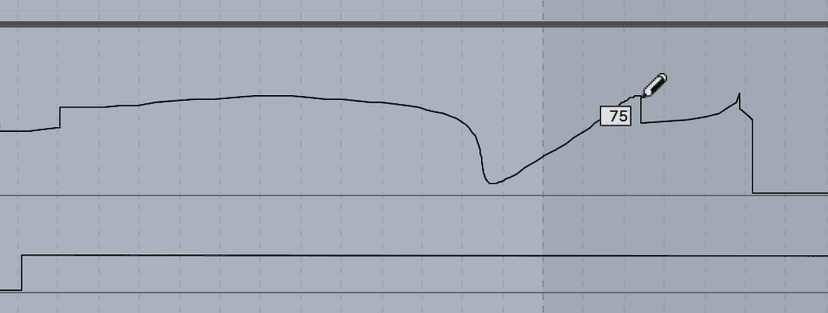
The modes
- Read plays back what is written and ignores the fader. This is where you leave everything once a move is right.
- Write records whatever the control is doing, overwriting what was there. Powerful and dangerous — it will erase an hour of moves on a pass you did not mean to record.
- Touch records only while you are holding the control and returns to the written value when you let go. This is the one to use nine times out of ten: you can fix one line without disturbing anything else.
- Latch records from the moment you touch the control and keeps recording until you stop the transport. Useful for a long, evolving move.
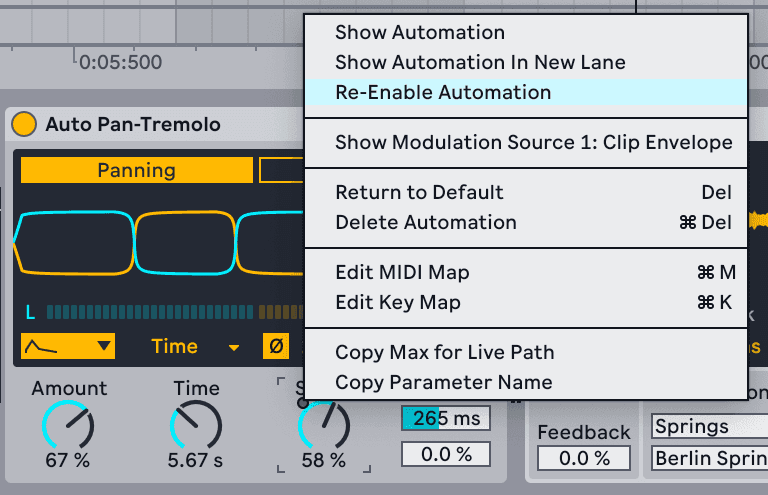
One thing that catches everyone: move an automated control while the transport is stopped and the automation is overridden, not updated. The parameter goes dim, playback ignores what is written, and you wonder why your moves stopped working. Re-enable it from the same menu.
What to automate, roughly in order
- Vocal volume, line by line. The single highest-value automation in any mix.
- Reverb and delay sends. Open the send for the last word of a phrase and close it again. A vocal that is dry through the verse and wet on the hook is an automation move, not a plug-in setting.
- Section levels. Bring the whole chorus up half a dB. Pull the verse guitars down. Nothing needs to be dramatic to be felt.
- Filters and effects. A high-pass that opens across a build, a delay feedback that climbs into a drop.
- Mutes. The cheapest arrangement tool there is: take something out for four bars and the return sounds like an event.
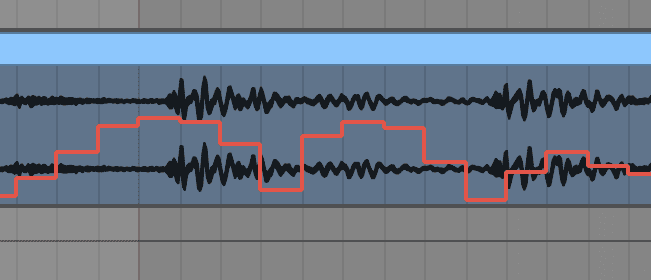
Shapes matter
A straight line between two points is rarely what you want. Most consoles and DAWs let you curve the segment — fast at the start and settling, or flat and then rushing at the end. On a fader ride, a curve sounds like a hand; a straight ramp sounds like a machine.
For a section change, use a step rather than a ramp: hold the value, jump at the bar line. A gradual slide into a chorus draws attention to itself; an instant change at the downbeat is invisible and does the same job.
Do this now
- Take a finished-sounding mix and solo the vocal against the backing.
- In Touch mode, play the song and ride the vocal fader for one pass. Do not try to be clever - just keep it audible.
- Now go through the written curve and pull any move that looks like a spike back to something smooth.
- Automate the reverb send up for the last word of each chorus line.
- Pull every instrument except drums and bass down 1 dB for the whole of verse two, as a step at the bar line.
Play it against the version you started with. The static one will sound flat, and it is the same mix.