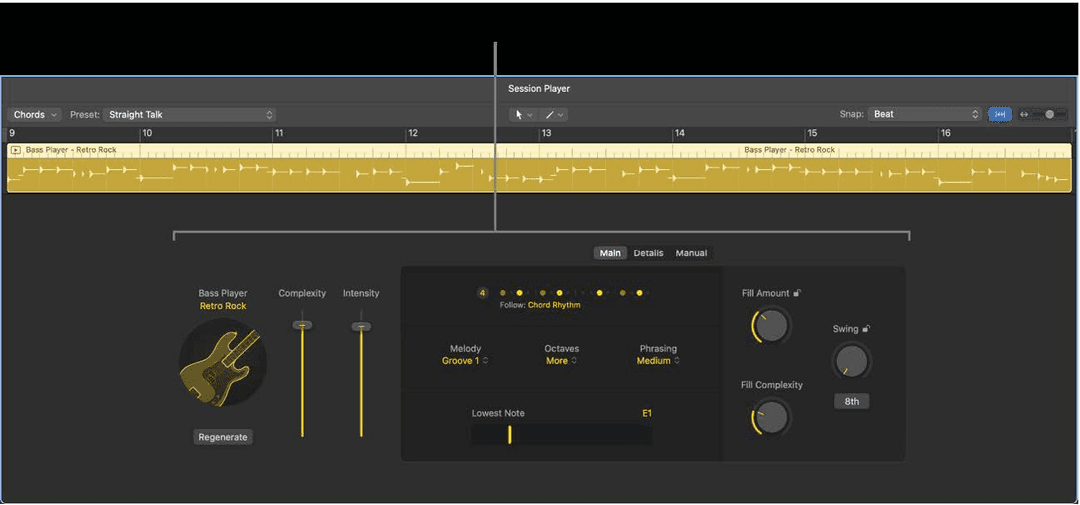
Adding a Session Player is covered in the Logic Pro course. This is where you stop taking what you are given and start directing the player.
Double-click a Session Player region to open the Session Player Editor below the Tracks area. Everything here applies to the selected region, so each section of the song is directed separately.
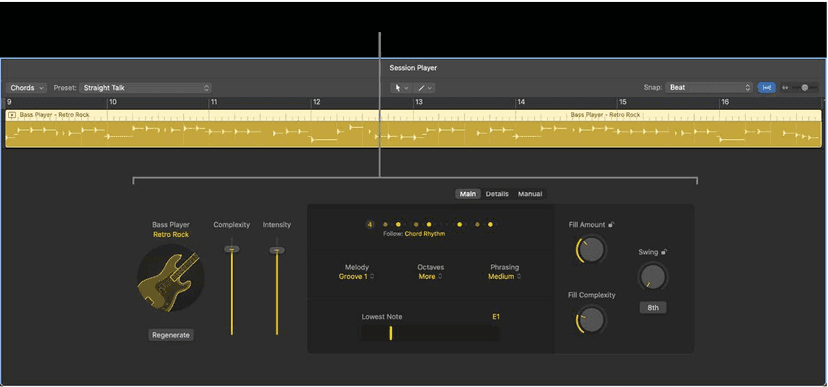
How the editor is laid out
- Main - Complexity, Intensity, the pattern, fills and swing, plus the controls specific to this player.
- Details - the finer settings, and where most of the per-instrument character lives.
- Manual - draw your own pattern from scratch.
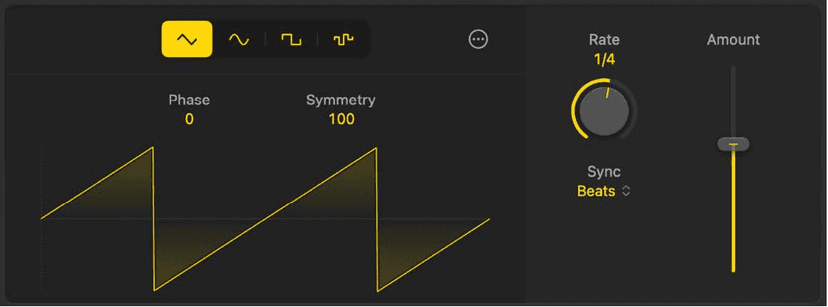
- LFO / Slides / Envelope - extra buttons that appear only on Synth Player styles.
Complexity and Intensity
- Complexity - how much the player puts in.
- Intensity - how hard they hit it, affecting dynamics and which parts of a kit get used.
They interact rather than stack, which is why the same two sliders produce so many different parts. Set them per region: verse down, last chorus up.
Patterns, and reading the dots
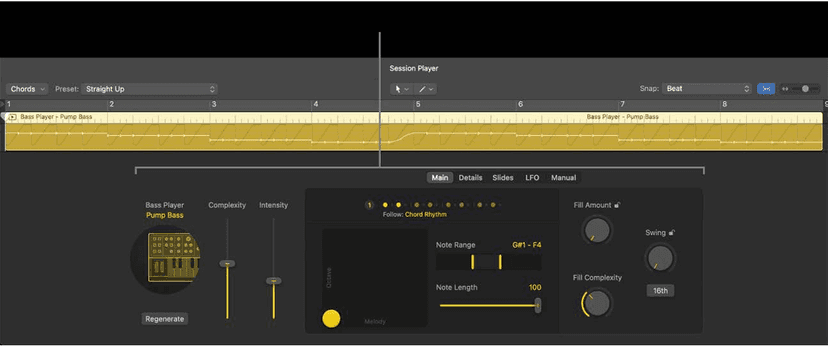
Each pattern is one bar of sixteenth notes. Bright dots are the accents the player will hit; dim dots are accents it may add as Complexity rises. Drummer gets a Patterns button per kit piece, with rows you can mute individually - and for hats, cymbals, toms and percussion, brighter dots mean stronger accents.
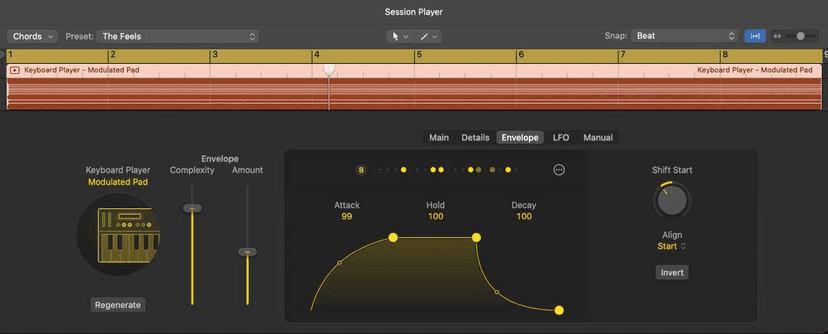
On the Modulated Pad keyboard style the Patterns button hides in Envelope view rather than Main.
Fills and swing - and the locks
- Fill Amount - number and length of fills. Fill Complexity - how busy they are.
- Swing - the shuffle feel, with an 8th / 16th switch for what it is based on.
Both have a small lock beside them. Lock them and they survive switching preset or style - which is the difference between auditioning ten styles quickly and re-dialling your swing ten times.
The Details controls that make it human
- Feel - drag up to play ahead of the beat, down to play behind it. The single most useful control in the editor.
- Dynamics - the range between soft and loud.
- Humanize - loosens quantization. Further right, the more rhythmically loose the performance.
- Tempo - how fast the rhythm is played relative to the project. Set to Automatic, the player drops to half-time or jumps to double-time when your tempo is a long way from the style's own default, which is usually what a real player would do.
Keyboard Player
The two hands are modelled separately and they respond to each other - mute the left hand and the right hand revoices to cover for it, exactly as a pianist would.
The Left Hand and Right Hand sliders set where on the keyboard each hand sits; drag the space between them to move both at once.
Left-hand voicing decides what it plays under the chord: Root Only, Root & Octave, Root & Fifth, Root Fifth & Octave, or Broken - root, fifth and octave played rhythmically apart, on the Rhythmic Chords style only. If a chord has an alternative bass note set in the Edit Chord dialog, the left hand plays that instead.
Left-hand style sets how busy it is: Sustain Only, Simple, Moderate, Complex, Follow Right Hand, Steady 4ths (Rhythmic Chords only) or Steady 8ths.
Right-hand voicing is the interesting one, because it is about voice leading rather than note count:
- 2 Voice - two appropriate chord tones, staying in the same register as chords change.
- 2 Voice (Fixed Interval) - the same interval on every chord.
- 2 Voice (Common Tone) - two notes that work across the whole progression, like a pedal.
- 3 Voice (Common Tone) - triads that work across the progression.
Movement then controls how much the right hand travels. Common Tone voicings with low movement is how you get a part that sits under a vocal instead of fighting it.
Bass Player
- Melody - how far from the root it strays, from root-only to elaborate chord-tone passages. The options change per style.
- Octaves - frequency and probability of octave jumps.
- Phrasing - the maximum note length, which is really a control over how legato the part is.
- Lowest Note - the floor. Set it to B0 to emulate a five-string, or raise it to keep the part out of your kick.
- Align Root - picks closer intervals for root notes as the progression moves, so the line walks rather than leaps.
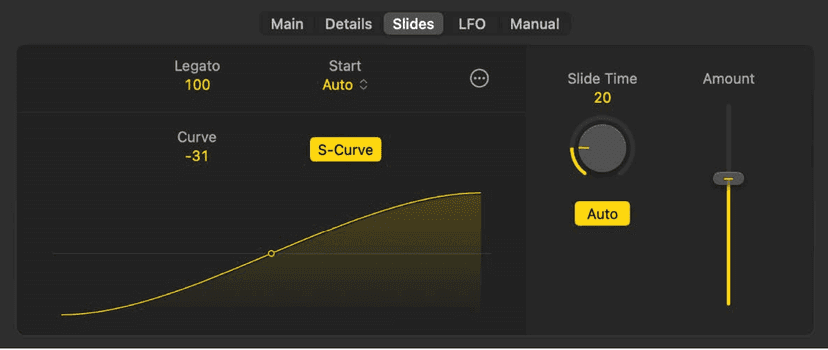
In Details, the physical playing detail: Mute Offset (an offset for the Studio Bass plug-in's own Mute slider - zero there means this does nothing), Dynamic Mute to have muting respond to surrounding notes, Dead Notes for percussive unpitched notes, Pickup Hits to slap the strings open-palmed on 2 and 4, and Slides for how often it slides between notes.
Slide Mode matters if you swap the instrument: Studio Bass (MIDI events and articulations, the default for electric and acoustic), Pitch Bend (the default for Synth Basses), or Overlap - which creates note overlaps so a mono-legato synth with portamento glides instead.
Styles add their own: Buzz Trills on Disco Slap, Double Stops on Modern R&B, Retro Rock and Pop Songwriter, Laid Back on Modern R&B (shifts the last eighth of a beat back), and Blue Notes on Retro Rock and Roots Upright - minor-to-major third bends and quarter-tone slides.
Drummer
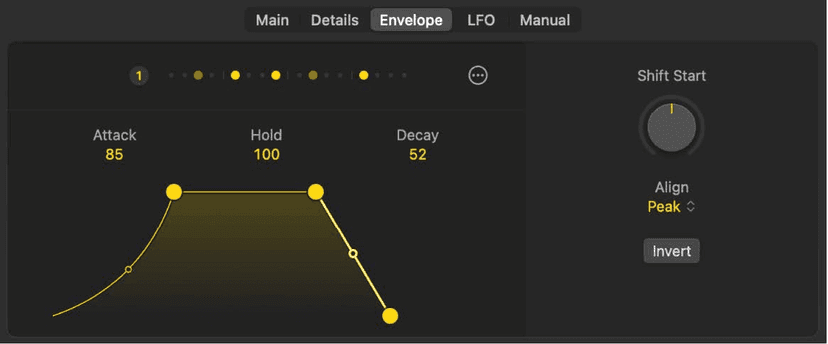
Click a kit piece icon to include or mute it. In Details, acoustic kits give you Snare, Percussion, Hi-Hat, Cymbals and Toms menus - the last three only appear once that piece is active in Main.
On a brush kit (Pop Brush, Roots Brush) the kick and snare Patterns dialog gains a Brush Sweep / Brush Taps switch - swirling sweeps against gentle taps.
Electronic kits work differently: kit piece sliders set the complexity range of each piece, and Phrase Variation controls how much the rhythm changes over several bars within a region.
Custom patterns
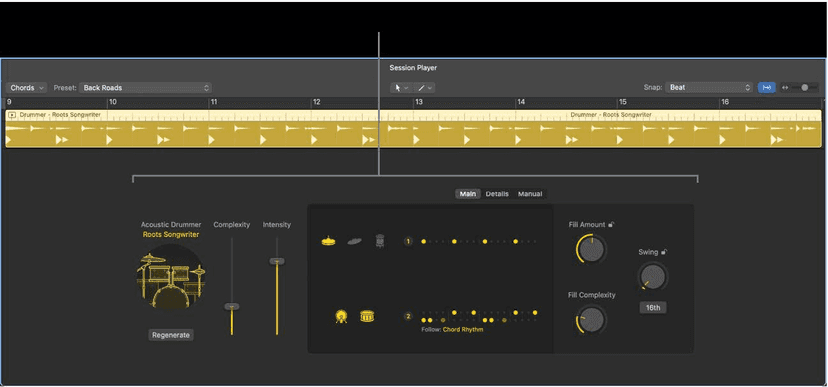
Click Manual and build the pattern yourself by turning steps on and off. Keyboard and Bass get a single row; Drummer gets a row per kit piece. Each step is a sixteenth, so sixteen steps is a bar - and you can extend the length, defined in bars or steps.
Moving settings around
- Copy / Paste from the Preset menu moves a whole performance setup from one region to another.
- Keep Settings when Changing Style locks what you have built so auditioning styles does not undo it.
- Regenerate rewrites the performance from the current settings - same settings, different take.
Following something else
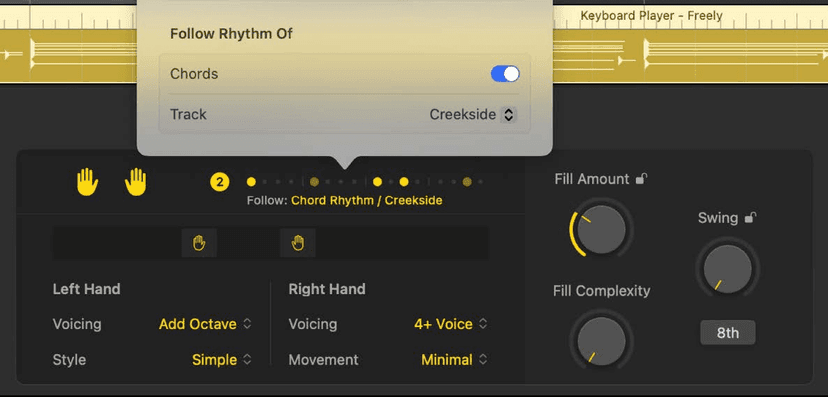
A Session Player region can take its rhythm from another track in the project. Lock the bass to a kick pattern you have already programmed and the two stop fighting each other - which is usually faster than trying to describe the groove through Complexity and Feel.
Committing the part
Control-click the region and convert it to MIDI or a pattern region when you want the notes. You get the performance and lose the generator, so do it last, and duplicate the track first if you are not certain.
Do this now
- Take a Drummer region and open the editor.
- Move Complexity and Intensity first, before touching anything else.
- Now lock the kick pattern you like and randomise the rest.
- Add a fill and set its length by hand.
The locks are what turn a generated part into an arranged one.