Playback and Navigation
Playback and Navigation
You can play back the project at any time to hear your latest composition. You control playback and navigate the project using the playhead, the ruler, and the transport buttons.
The playhead extends from the top to the bottom of the Tracks area, and moves as the project plays, showing the currently playing point in the project. At the top of the playhead is a triangle that you can drag to move the playhead to a different time position, or scrub the project by moving the playhead across the Tracks area to quickly locate a particular musical passage.
Starting and stopping playback
As we've already seen, the Transport buttons will allow us to see the start and stop status of our project. A quick reminder of how to start and stop:
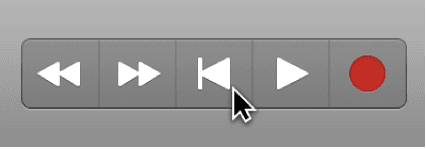
- To start playback: Click the Play button (or press the Space bar).(When the project is playing, the Go to Beginning button becomes a Stop button.)
- To stop playback: Click the Stop button (or press the Space bar again).
- To start playback from the clicked position: Double-click the lower part of the ruler. Double-click again to stop playback.
Some transport functions are available as key commands. Most of these transport key commands have no default assignment, and need to be assigned manually. For supported USB MIDI controllers, button controls on the device may be automatically assigned to transport key commands.
Moving the playhead
The playhead is the vertical line showing the current playback position in the Tracks area and other time-based windows (such as the Audio Track Editor, Piano Roll Editor, and Score Editor).
With devices equipped with a Touch Bar, you can use the Touch Bar to set the playhead position.
We can move the playhead around to any part of the project by:
- Dragging the playhead to a new position.
- Clicking the lower part of the ruler to move the playhead to the clicked position. If the project is playing, playback continues from the clicked position.
- Shift-click in an empty part of the Tracks area at the new position.
- While the project is playing, click the Rewind or Forward button.(Each time you click Rewind, the playhead jumps back to the previous bar. Each time you click Forward, the playhead jumps forward to the next bar.)
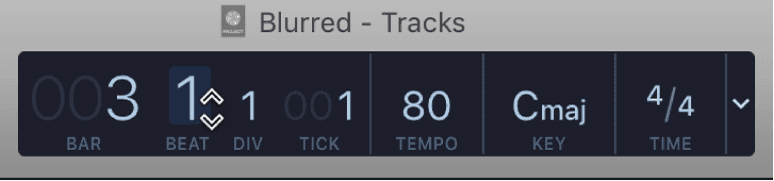
- In the LCD, click and hold one of the numbers in the Position display and drag vertically.To move the playhead to the start of the project click the Go to Beginning button in the control bar (or press Return).To set the playhead to the start of a marker, click anywhere on the marker while holding down Option.
To set the playhead position using the Touch Bar, tap the Mode button on the left side of the Touch Bar, then tap the Tracks area button in Logic Pro. Tap the Touch Bar at the position you want to set the playhead.
You can also use the transport buttons in the control bar to control playback, or to set the playhead position. You can click the buttons to activate or deactivate functions, or, better still use the corresponding key commands to speed up your workflow.
Working with Windows
As you've seen, you can open editors and other working areas as separate windows, open multiple windows simultaneously, customize your window setup, and save different window arrangements as screensets. The contents of each window update to show your latest changes.
As we've already established, only one window can have key focus at a given time, this is called the active window. When several normal windows overlap, the active window is the window in the foreground. The title of the window with key focus is black (the titles of other open windows are gray). The area with key focus (for example, the Tracks area) is always bordered by a blue frame.
In the Logic Pro main window, different areas can be given key focus by clicking the background or title bar of the window, or by using a tool in the window. Key commands only affect the window or area with key focus.
Some areas, including the Preferences and Project Settings windows, open as floating windows in the foreground, above even the key focus window. When one floating window covers another, click the one you want to move to the foreground.
To open a window choose the window you want to open from the Window menu. If the window is open but in the background, it comes to the foreground. If it’s already in the foreground, another window of the same type opens.
Tip: The key commands for opening different working areas as separate windows are shown beside the window name in the Window menu.
To give a window key focus, click the window title bar, or within the working area. When clicking in the working area, be careful not to accidentally insert an event or region if the Pencil tool is active in the window.
To cycle through open windows, go to Window > Cycle Through Windows (or use the corresponding key command).
This command assigns key focus to the next open window, if it is fully obscured by other windows.
You can also cycle through working areas using Tab (cycles forward) and Shift-Tab (cycles backward).
To close a window:
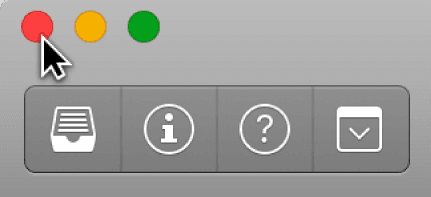
- Click the close button at the top-left corner of the window.
- Choose File > Close (or press Command-W).The window with key focus closes.
To close all windows (of the active project), Option-click the close button to close all windows of the active project.
Note: If you close all open windows of a project, Logic Pro asks if you want to save your changes.
You can move and resize open windows individually, even across multiple monitors. You can also change the size of all window elements that feature a resize bar.
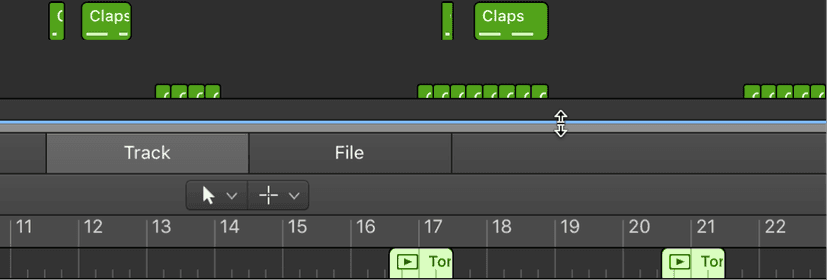
The size relationship of the Tracks area and editors in the Logic Pro main window can also be adjusted, by clicking between them and dragging vertically. The pointer changes to a Resize pointer. The vertical height of the Mixer is independent of the height you set for the editors.
To move a window, drag the window to a new position.
Scroll and Zooming
Depending on the size of the project and your display, you may not be able to see the entire project at one time. You can scroll both horizontally and vertically in the Tracks area to view other parts of the project.
You can zoom in to make precise edits and see more detail in the Tracks area, or zoom out to view more of your project. You can also zoom the amplitude of the waveforms in audio regions in the Tracks area. With devices equipped with a Touch Bar, you can use the Touch Bar to scroll in the Tracks area.
Scrolling the Tracks area
- To scroll horizontally, drag the horizontal scroll bar in the Tracks area menu bar. Drag left to scroll to an earlier part of the project, or drag right to scroll to a later part of the project.
- If a project has more tracks than are currently visible in the Tracks area, a vertical scroll bar appears along the right edge of the Tracks area. Drag the scroll bar up or down to see the other tracks.
If your computer has a Touch Bar, you can use the Touch Bar to scroll in the Tracks area.
- Tap the Mode button on the left side of the Touch Bar, then tap the Tracks area button .
- Swipe left or right on the Touch Bar to scroll the visible area of the project.
Zooming
You can zoom in to see regions or events in closer detail, or zoom out to see more of the project. Most Logic Pro windows have zoom sliders- like the ones we saw before.
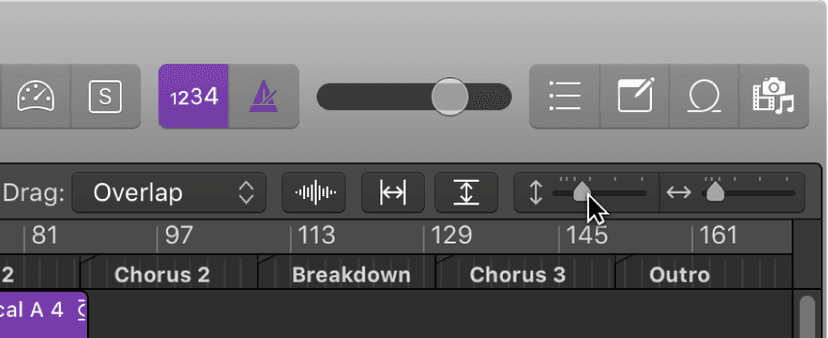
When you zoom in or out, the top-left (and selected) event or region remains in the visible area of the screen. If no selected region or event is visible, zooming is centered around the playhead. If the playhead isn’t visible, the current center of the window is retained.
You can store three different zoom settings for each window using the Save as Zoom 1–3 key commands. Use the Recall Zoom 1–3 key commands to recall your zoomed settings. These commands only apply to the active window or window area.
Zooming in the Tracks area or editor:
- To zoom vertically: Drag the vertical zoom slider left or right. Dragging left increases the number of visible tracks, while dragging right increases the track height.
- To zoom horizontally: Drag the horizontal zoom slider left or right. Dragging left shows more of the Tracks area, while dragging right zooms in for a more detailed view.
- Automatically zoom vertically: Click the Vertical Auto Zoom button to fill the available vertical space.
- Automatically zoom horizontally: Click the Horizontal Auto Zoom button to fill the available horizontal space.
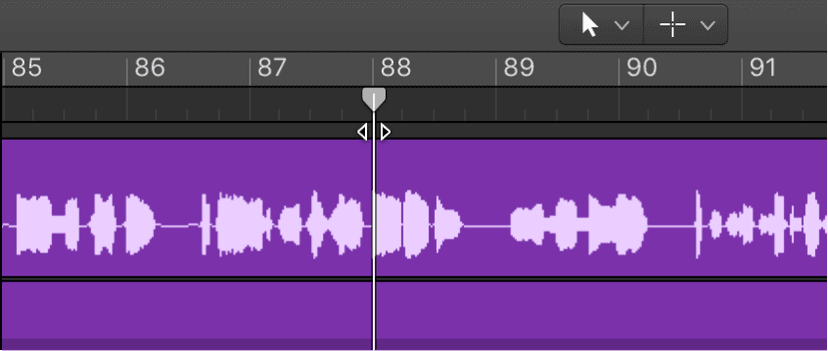
Zooming the Tracks area or editor using the playhead can also be achieved by pressing and holding Option as you click and hold in the lower section of the ruler, then drag the top of the playhead up or down. Dragging down zooms in, while dragging up zooms out.
If you have laptop, you can zoom using your computer trackpad. Pinch on the trackpad using two fingers. Pinch open to zoom in, or pinch closed to zoom out.
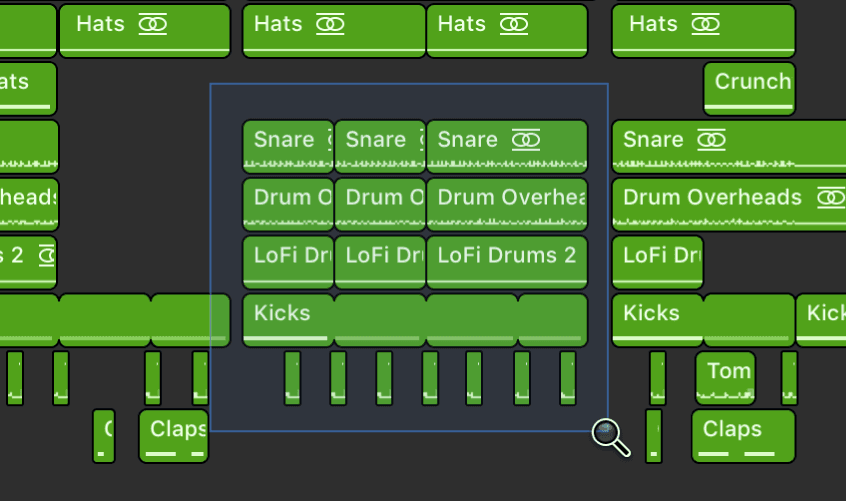
One of the best ways to zoom a section of the Tracks area is by using the Zoom tool. Select the Zoom tool from the Tool menu (or press and hold Control-Option). When the pointer is over an empty part of the Tracks area, you can simply press and hold the Option key. Drag to select the area you want to zoom with the Zoom tool. The selected area fills the window. You can repeat the process to zoom in further.
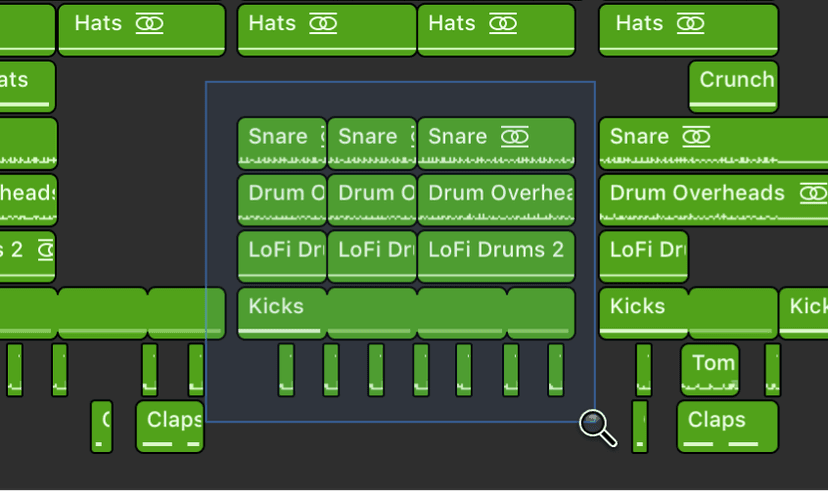
To revert to the previous zoom setting, click the background with the Zoom tool. This action returns the zoom level to the original setting, or backtracks through previous zoom steps if the tool was used multiple times.
In Logic Pro, you can Save and recall zoom settings. First, adjust the zoom setting you want to store. Use one of the Save as Zoom key commands (1–3). To recall a saved zoom setting, use the corresponding Recall Zoom key command (1–3).
Zoom tracks
In the Tracks area, tracks can be zoomed using the Tracks area zoom controls (and Waveform Zoom slider) and also zoomed independently. When a window is first opened, there is a default zoom setting that provides a compromise between optimal visibility and working space in the Tracks area.
Move the pointer to the bottom-left corner of a track. The pointer changes to a pair of up- and down-pointing arrows. Drag vertically. The individual track zoom factor, compared to the overall window zoom level, is shown in the help tag while the mouse button is held down.
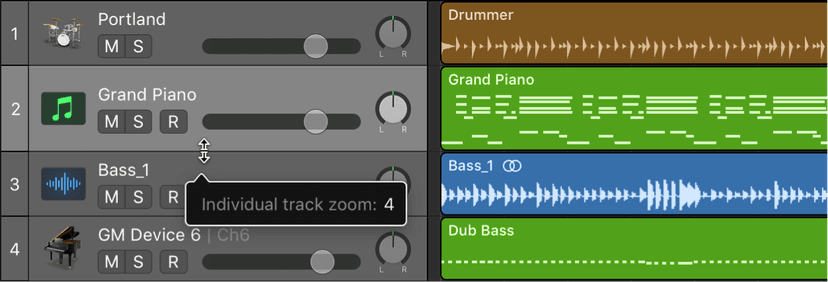
Automatically zoom the focused track:
When multiple tracks are selected, the first selected track is the focused track. You can zoom the focused track.
- Choose View > Zoom Focused Track from the Tracks area menu bar (or press Control-Z)
Zoom all tracks:
Move the pointer to the bottom-left corner of a track. The pointer changes to a pair of up- and down-pointing arrows.Press and hold Command while dragging up or down.
Reset all tracks to the default zoom level:
Move the pointer to the bottom-left corner of a track. The pointer changes to a pair of up- and down-pointing arrows.Press and hold Shift while dragging up or down.
Zoom tracks using key commands:
Use any of the following key commands:
- Individual Track Zoom In and Individual Track Zoom Out: Increases or decreases the “individual track zoom” factor of the selected track by one.
- Toggle Individual Track Zoom: Switches the selected track between its individual zoom level and the window zoom level. This option is useful for zooming in on a track to edit its automation data. After editing, use the Toggle Individual Track Zoom key command to return to the original zoom level.
- Individual Track Zoom Reset: Resets the selected track to the window zoom level.
- Individual Track Zoom Reset for All Tracks: Resets all zoomed tracks to the window zoom level.
Create and recall Screensets
As you get more familiar with Logic, you'll position windows in a layout that suits the way you work. This layout of various windows, including their display size, zoom levels, position, and other settings, is called a screenset. Once defined, you can save, and freely switch between different screensets, much as you might between different computer displays.
Screensets are numbered from 1 to 99 (using only the 1 to 9 computer keys—the 0 key is assigned to the Stop command by default).
You don’t need to save screensets with an explicit command. It happens automatically, as soon as you switch to another screenset. Thus, without any effort, your current working view is always stored as the current screenset.
Create a screenset:
- Press any numerical key except 0; for example, 7. (For two-digit screensets, press and hold Control while entering the first digit.)
- Arrange your windows, including changes to zoom settings, the relationship of the Tracks area and editor, open or closed inspector and Browsers or List Editors areas, and so on.
Note: When you choose a screenset number that has not been saved, a maximized main window opens
Recall or switch between screensets:
- Type the number of the screenset (1 to 9).For two-digit screensets, press and hold Shift while entering the first digit.
- Choose the screenset from the Screenset menu.
- Use the Next Screenset or Previous Screenset key commands.
Note: Screensets 1 to 9 can be recalled by freely defined key commands, not only the number keys on your computer keyboard. This allows you to use the number keys for other purposes, such as opening or closing windows. The 1 to 9 key commands are called Recall Screenset 1–9 in the Key Commands window.
- Enter the screenset number in the Val column.
You can stop screenset switching by muting the MIDI region that contains the meta 49 event.
Do this now
- Build three Screensets: 1 for writing, 2 for editing, 3 for mixing.
- Save the project, close it, reopen it and press 1, 2, 3.
Screensets are the feature most Logic users never touch and the one that saves the most time.