C7 Using Third Party Plugins: Tagging in Browser
Installing Plugins
Plug-ins are installed once, into the operating system, not separately for each program — so the same plug-ins are available to every DAW on the machine. Drag the files into the right folder. You will see separate folders for VST and Components (Audio Units).
AU and VST plugins on a Mac
Library/Audio/Plug-Ins/
But can also be installed for just one user here:
Users/USERNAME/Library/Audio/Plug-Ins/
VST plugins on a Windows machine:
With windows machines there is no specific operating system folder for your plugins, although there are a few conventional ones. You can create a folder anywhere on your hard-drive and then direct Live to find it:
Click the Browse button next to VST Plug-in Custom Folder and point Live at the folder holding your VST plug-ins. The two conventional locations are `C:\Program Files\VSTPlugins` and `C:\Program Files\Steinberg\VSTPlugins`.
Once you’ve installed your plugins
- Click the “Rescan” button next to “Rescan Plug-ins.” Ableton scans the specified directory for VST plug-ins and activates them in the browser. However, this doesn’t always work, the safest method is to restart the whole program. It takes a little while longer, but it makes sure that they are working correctly.
Using installed plugins:
- Once they are installed into the correct directory, they are really easy to find. Simply click the “plugins” button in the browser. It’s the one that looks like a little plug.
Book Marking and Tagging Plugins and Presets in Browser
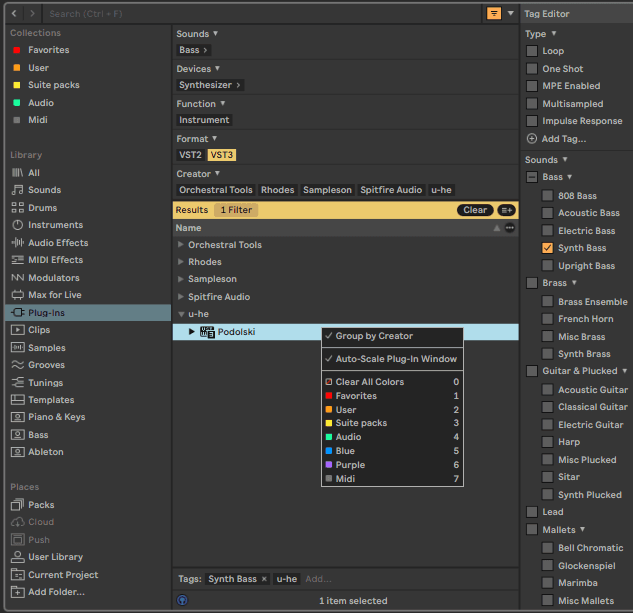
You can bookmark your favorite instruments or sounds to a collection by right clicking and select a color numerically!This is a great way to organize your Library and has the potential to greatly speed up your workflow. Thanks to new Color feature we can now tag any file type in the browser with up to 3 colors, while picking from 7 color options. We can rename those color ‘collections’ and in this way create collections according to certain attributes of our own choosing.
You can also tag them with an attribute in the Edit section
Ableton Live easily incorporates Third party effects and instruments. If you’re getting tired of the built-in instruments then you can download many top-quality free ones, or stump up the bucks for some of the big-name industry favourites. Using third-party instruments gives you a virtually infinite new range of sounds and textures for your music, but remember, it’s better to fully learn what one or two good plugin instruments can do. Rather than fill your computer with hundreds of synths that you don’t know how to work properly.
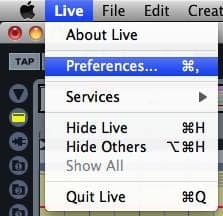
To get started with 3rd party instruments, first you have to make sure they are enabled in Live’s Settings. You can access this by pressing (ctrl [command] +,) or by using the drop down menu: Once you have opened the Settings, select the **Plug-Ins** tab from the menu on the left:
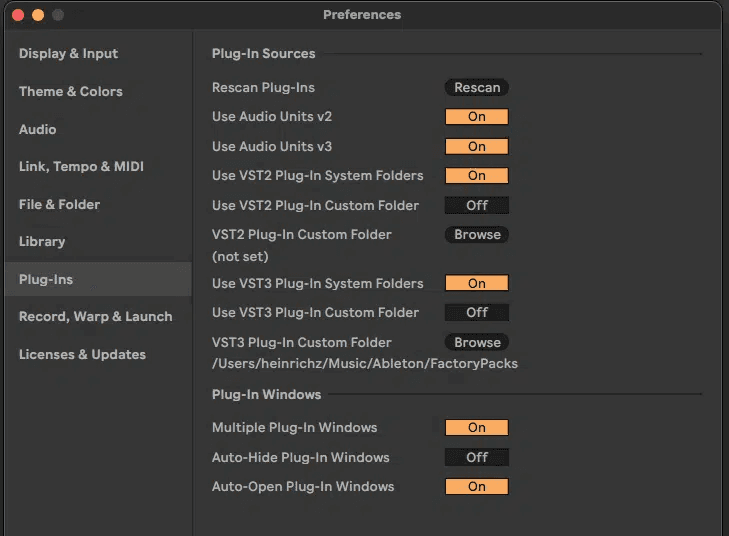
On a Mac, enable Use Audio Units. AU plug-ins are near enough identical to VSTs, written to Apple's own plug-in standard. Macs run VSTs too — but a VST built for Windows will not run on a Mac, so check what you are downloading before you wonder why nothing appears.
Macros
Configuring Plugins for Automation and Hands-On Control
Find the box that represents the plugin in the device chain and click the small arrow/triangle in the upper left corner of the box.A sidebar should appear with a button that says, “Configure.”Press this button and click any parameters in the plugin that you’d like to automate or map. Remember, to see the plugin click on the little spanner in the top-left of the instrument in the device chain.
A series of sliders should appear in the sidebar.
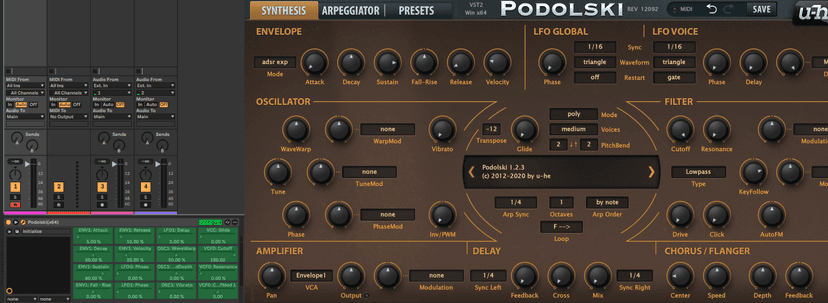
When you’re done, press “Configure” again.
From here, you can use envelope modulation or automation with these parameters, something that you couldn’t have done before. You can also map these parameters to a MIDI controller using MIDI map mode.
You can even map all of these parameters to up to 16 Macros. In order to do this, select the plugin in the device chain and press Cmd+G to put the plugin in a Group. Now you should be able to map the plugin parameters to a Macro by clicking “Map Mode” and selecting the newly visible parameter sliders.
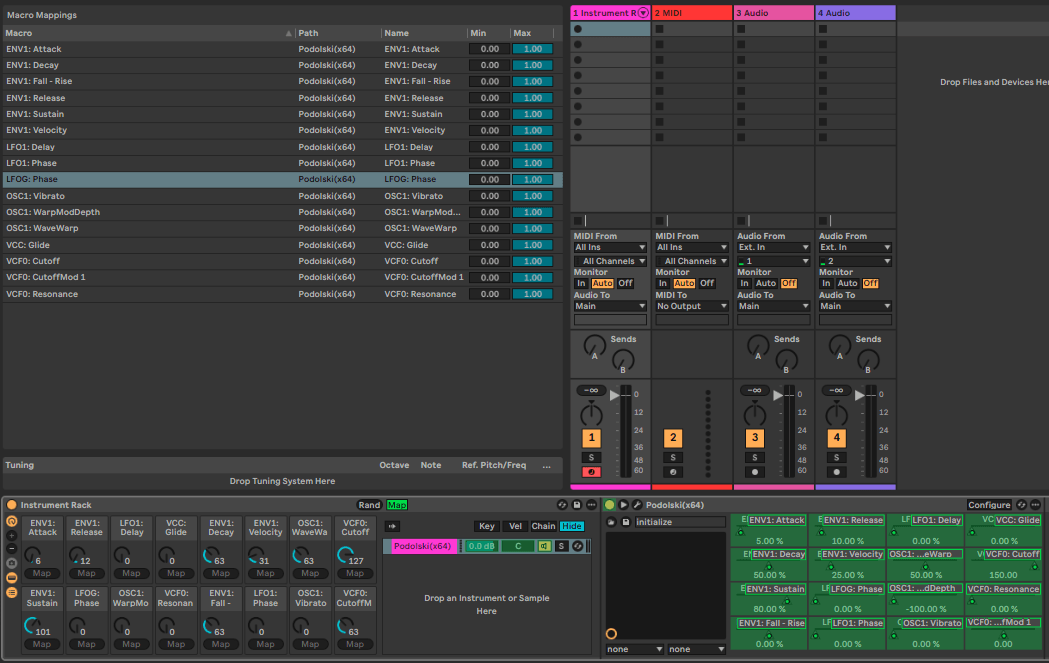
Dive into free music production software..
There are many great free plugins available at this point.
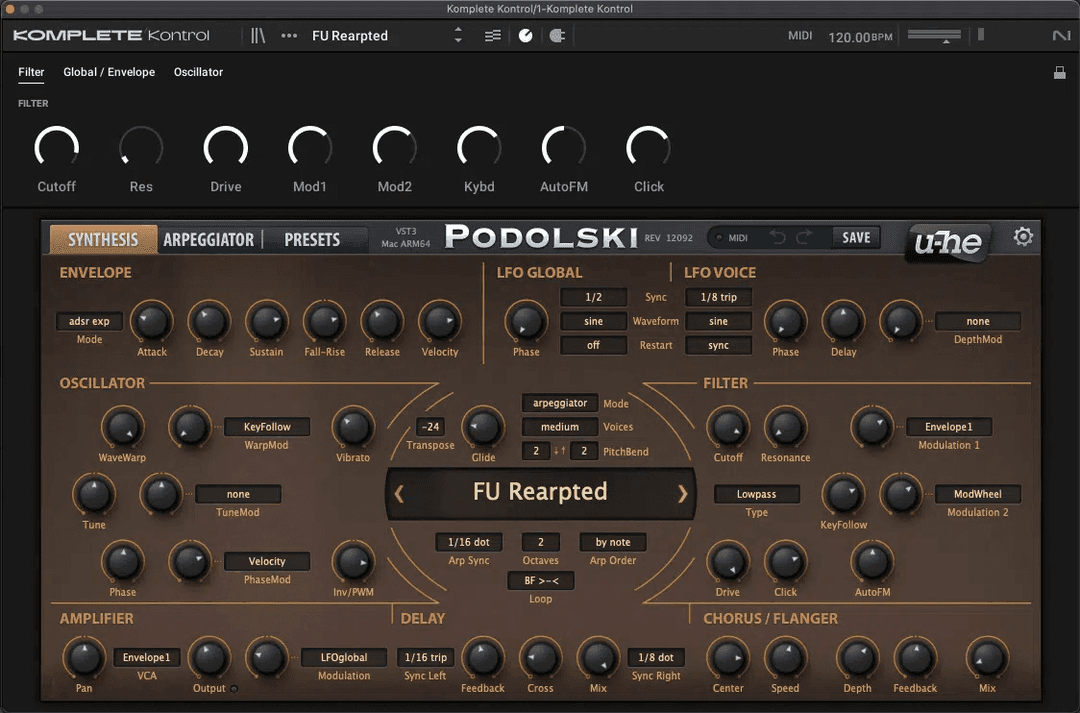
The synths from TAL and U-he (image above) are great sounding freebies for starters.
https://tal-software.com/products/tal-noisemaker https://u-he.com/products/tyrelln6/ https://u-he.com/products/podolski/
One well known source would be Splice, where you can download many free audio effects.
https://splice.com/plugins/free_plugins. https://u-he.com/products/tyrelln6/
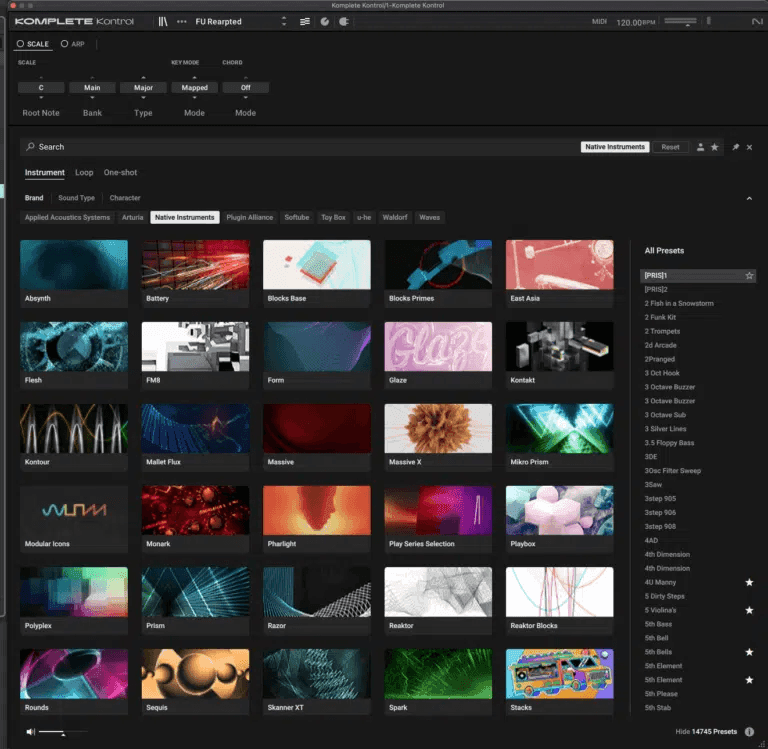
In addition I recommend getting started with Komplete Kontrol as it might be very useful for you in the future as a source for high quality, industry standard instruments and effects.
Using Komplete Start by Native Instruments
This free collection of instruments and sounds will make use of a plug in host called Komplete Kontrol. It allows to browse, pre-hear and load many different instruments, effects and sounds not just from NI but also from other third part plugin companies, such as Arturia, AAS, Output, U-he and many more. This is called the Native Kontrol Standard (NKS).
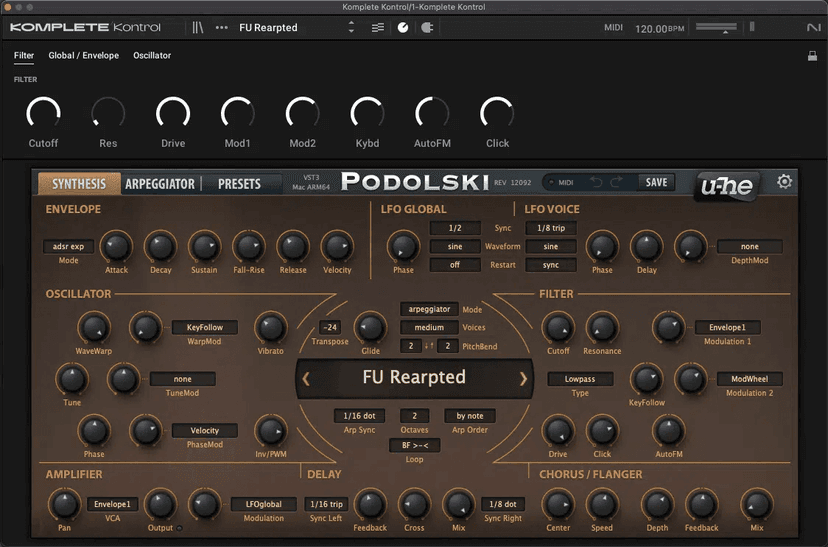
Therefore you will able to browse and load your Podolski presets from there as well!
https://www.native-instruments.com/en/products/komplete/bundles/komplete-start/
https://www.native-instruments.com/en/specials/komplete/this-is-nks/nks-partners/
By loading Komplete Kontrol as a plugin in Live you can browse, pre-hear, load and midi control the 3rd party plugins of the many of the most popular music software companies:
Instruments and effects come preconfigured for mid control ready for performance or automation recording:
Do this now
- Install one free plug-in and get Live to see it - rescan, then restart if it does not.
- Use Configure to expose four parameters so they can be automated.
- Group it and map those four to macros.
Configure is the step people miss, and without it you cannot automate a third-party plug-in at all.