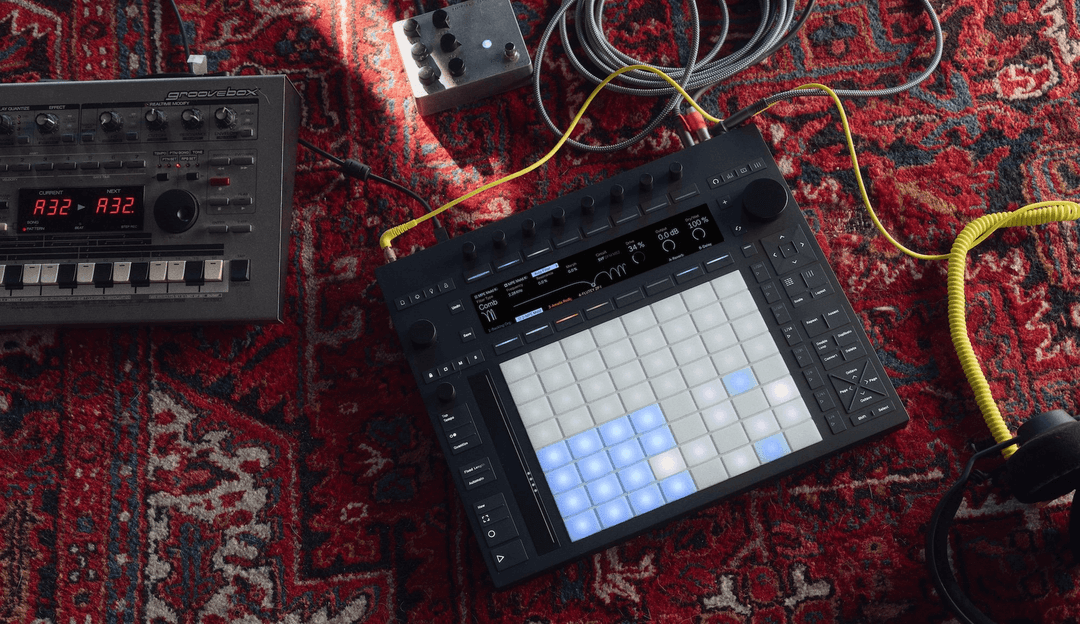
This audio effect is great to autotune vocal tracks to either make subtle pitch correction or to create more audible synthetic artifacts.
Auto Shift ca also be used for pitch and formant shifting and it offers low latency Live input as well
While it was designed primarily with vocals in mind, any monophonic signal can be processed and shifted.
In addition to these standard features Auto Shift will also allow you to create totally new sounding vocoder like effects when using the Midi Input.
The Quantizer
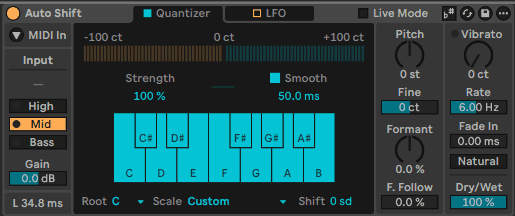
Auto Shift's pitch correction controls:
The Input switches let you set the frequency range of the incoming signal to Bass, Mid, or Low, which helps to optimize the quality of the pitch correction.
You can select a built-in scale or create a custom scale to use for pitch correction.
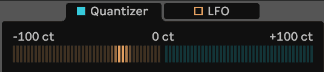
The Pitch Correction Meter shows how much the input signal has been shifted in order to fit the selected scale pitches in cents.
Use the Smooth control to create smoother jumps between corrected notes, preserving more natural vibrato, or it can be switched off for more abrupt changes between pitches creating the typical synthetic sounding “autotune” effect.

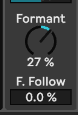
Formant Shift lets you adjust the formants of the input signal using positive or negative values, while the The Formant Follow parameter determines how much the formant shift follows the pitch shift.
When Live Mode is enabled we can get the quantization effects also ‘Live’ in real time with extra low latency.
Pitch and Fine controls can be used for high quality pitch shifting of the entire signal in semitones or cents.
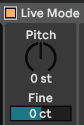
You can adjust vibrato using the Vibrato control, as well as set the vibrato fade in time in milliseconds and the vibrato amount in cents.
Natural randomizes the speed and depth of the vibrato to sound more natural.
Scale Awareness
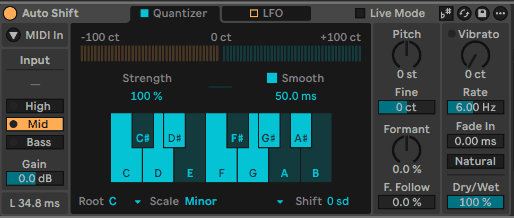
The Scale settings in the Quantizer can differ from the global Scale!

The global scale is visible in the audioclip’s sample box where it can also be disabled and also changed.
MIDI In
When MIDI Input is activated, the Quantizer tab is replaced by the MIDI tab, which contains settings for incoming MIDI.
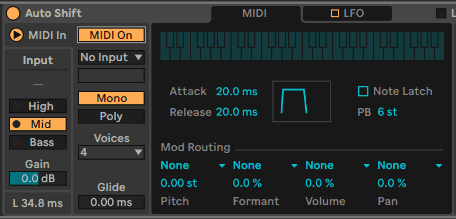
Activating MIDI Input lets Auto Shift receive MIDI from another track to control pitch correction using MIDI notes.
You can use MIDI clips or play the notes that you want to use for the vocal input correction.
In MIDI mode you will only hear the pitch correction when notes are played, if Auto Shift does not receive any MIDI, there will be no corresponding output.
The sidechain input could come from a midi controller or from a midi clip.
This works both with monophonic and polyphonic signals accommodating up to 8 voices.
When playing chords It is possible to play and harmonize the incoming signal polyphonically
In mono we also have a glide option for overlapping notes
LFO
Auto Shift includes two modulation sources: a dedicated vibrato LFO or a multipurpose LFO that allows to modulate all important features of the device. You can select the shape and rate for the LFO, as well as adjust the attack and delay times.
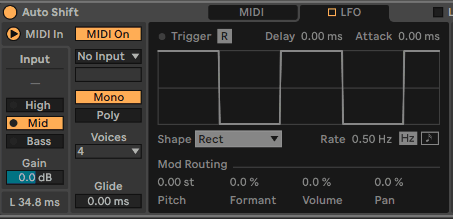
Adjustable LFO and modulation controls:
The Mod Routings section can be used to apply LFO modulation to the pitch shift, formant shift, volume, and panning.
Midi Control Sources and Destinations
With Midi On we can also use Midi control for the same destinations.
You can apply modulation and also use MPE data in the Mod Routings section of the MIDI tab
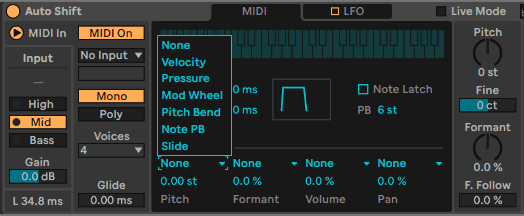
Midi Control Options:
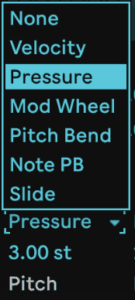
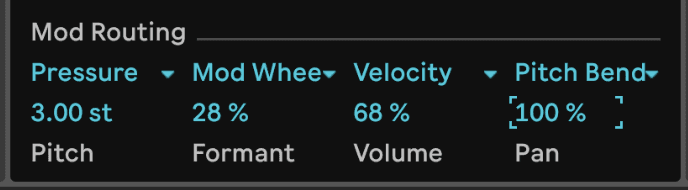
Combine a control source with a destination.
With the setting below Pressure will control Pitch up to 3 semitones:
Bounce Tracks to Audio
Do this now
- Put Auto Shift on a vocal or a monophonic lead.
- Set the Quantizer to the project scale and pull the retune speed slowly from fast to slow.
- Now use the LFO section to add vibrato that was not in the performance.
Fast retune is the effect. Slow retune is the repair. Both are valid; pick on purpose.