Ableton’s Analog: Oscillators, Envelopes and Filters
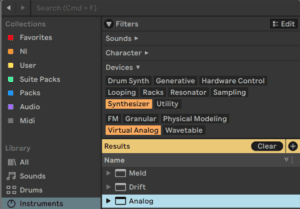
Select Instrument in Browser’s side pane and use the Filter to display the Virtual Analog Synthesizers we have in Ableton Live Suite. Analog is great way to dive deeper into classic subtractive synthesis and it’s components are actually modeled after analog hardware.
Oscillators
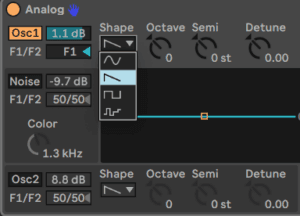
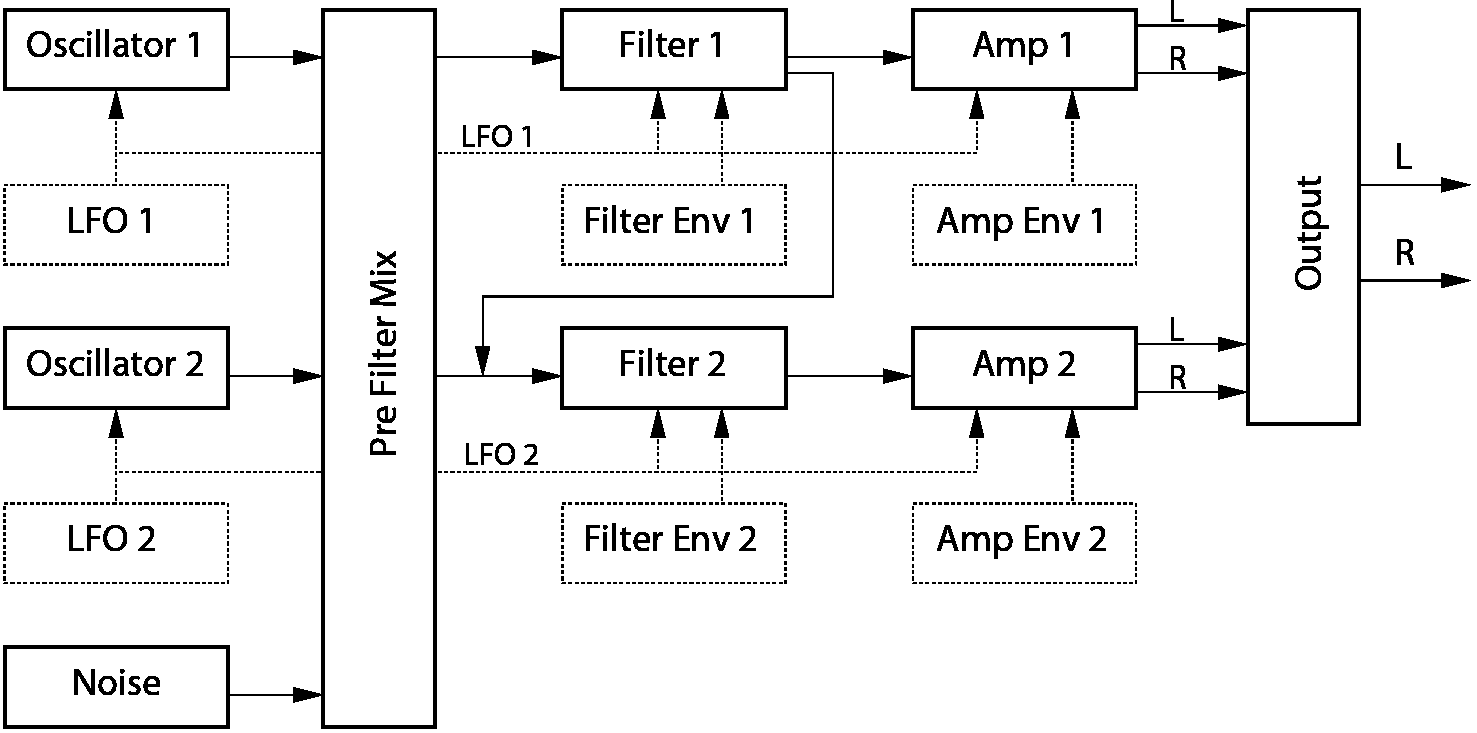
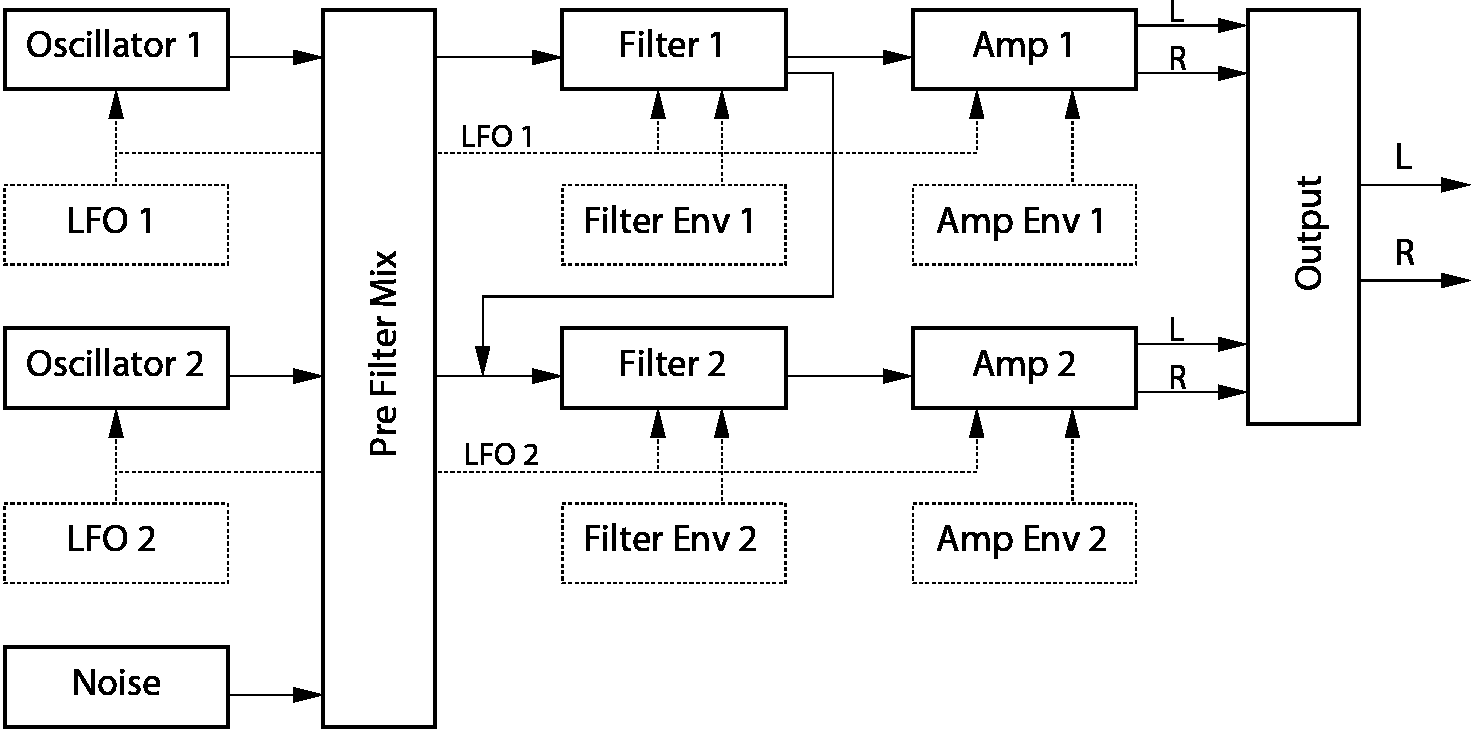
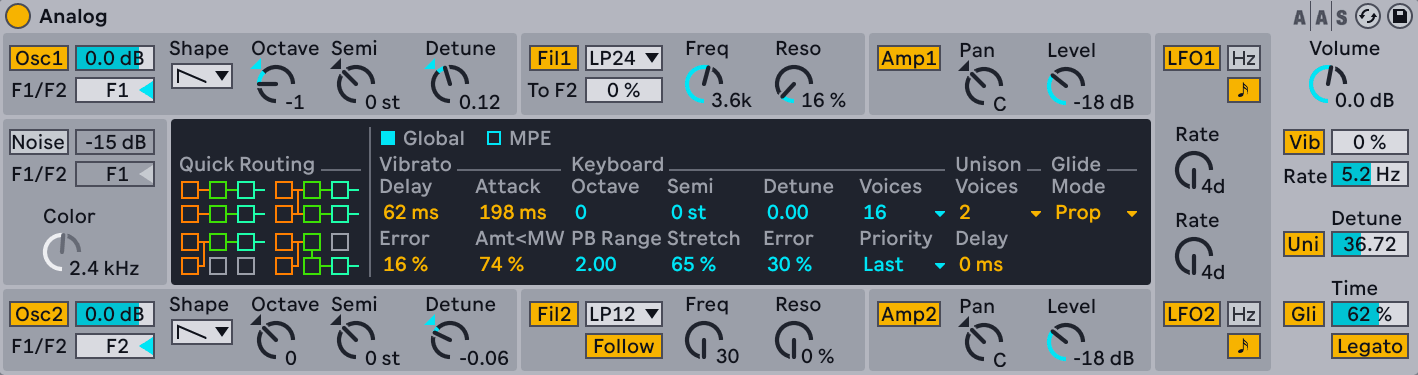
Analog features 2 identical Oscillators and a Noise generator. In the Oscillators you’ll find the waveform we discussed in the previous lesson. We also have tuning controls to change Octave and Semitones as well as a control to slightly Detune the oscillators which is great to create Tremolo effects when using them both.
Modulation Envelopes
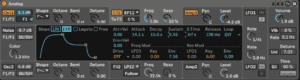
Analog is organized in modules that are placed in the Shell around the Central Display, which is used display the functions of the selected module
When creating sounds with synthesizers and samplers we use ADSR envelope generators to modulate (change) parameters over time. An envelope then serves as the modulation source, also called the modulator, and will have a very different effect on the sound depending on which parameter (modulation destination) it controls.
ADSR stands for Attack, Decay, Sustain, and Release, and it is a common way to describe the controls of this most common envelope type.
The first envelope we usually want to shape when creating a specific sound is controlling the amplitude, thereby defining how volume evolves over time.
This is probably the most decisive envelope for the sound category we are aiming for and also serves as a good description of the different sound and preset types e.g. drums, percussion, key, lead or pad sounds. Each category has certain volume envelope characteristics in common that define what the sound can be used for musically!
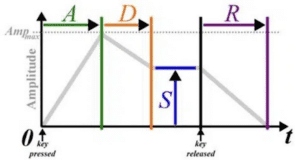
When we play a midi note, the envelope starts progressing through the ADSR, during note’s duration, from note on (A) to peak volume, then decaying (D) to the sustain level (S) and finally fading out during R after the note ends.
Attack refers to the time it takes for a sound to reach its maximum volume from silence.
Many natural instruments (guitar, piano, drums…) have a very short attack, meaning they reach maximum volume immediately after a key is played. That is a precondition for being able to also play faster rhythmic parts.
Decay is the time it takes for a sound to decrease in volume from the Attack’s peak
to reach its sustain level. Set a decay time of 0 seconds and the sound immediately drops to its sustain level. In a synth decay is used to shape the body of a sound.
Sustain is the level of the sound that is maintained after the decay phase during the duration of the note (gate time) or while the key remains pressed. It can be the same as the peak volume at the end of the attack phase, or anything lower. Sustain is therefore a “volume amount” rather than a length of time. It can be used to sustain the sound for an indefinite period of time.
Release refers to the time it takes for the sound to fade out after the sustain phase. This is the final stage of the envelope generator and can be used to shape the ending of a sound.
The release time dictates how long the sound takes to fade away when the
key is released.
In synthesizers and samplers we can tailor each envelope phase to our liking.
A slower attack time can be used to create a sharp or gradual onset to a sound when creating a pad, bowed string or flute like lead sound.
Pads and atmospheres are a great starting point to learn about ADSR. This is because their envelope is easily recognizable. Pads usually have a slow attack, long decay, and often a slow release. Key sounds always have a fast attack and are typically decaying to a 0 sustain level.
On the other hand, some sounds e.g. bells need to have a long release time.
If it’s too short it might end up sounding more like a percussive cowbell. If you want to play rapid notes you always want a short attack and generally also short release times, so the sound ends before you hit the next note.
Some synths also have more or less stages in their envelopes e.g a Hold phase (AHDSR) that keeps the volume at peak before it’s decaying to the sustain level or just ADS like the famous Minimoog Model D.
Ableton’s Analog has an additional sustain time control. We can make the sustain fade and stop even while the note is still on (key pressed). In Analog we can also create various envelope loops!
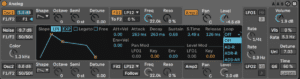
Filters
Filters are the main tools besides envelopes to shape the sound when doing subtractive synthesis as we will do with Live’s Analog. They are used to sculpt the timbre of a sound by subtracting harmonics, comparable to chiseling a sculpture shape out of a block of stone.
A filter is a tool used to modify the frequency content of the oscillator’s waveform. It works by allowing certain frequencies to pass through while attenuating or blocking others. It can also be used to emphasize specific frequencies to create the desired tonal balance.
This is done by using the controls for the Frequency and Resonance. The latter applies a boost at the selected frequency. In some synths it’s therefore also labelled as Emphasis.
Since those two controls yield very different results in combination, it’s faster and more fun
to use both hands with a midi controller!
Once we have a setting we like we can use a Filter Envelope to modulate the Cutoff Frequency over time for an evolving timbre on top of the existing Amplitude Envelope.
This will add depth and movement to a timbre that otherwise would be static and flat.
Especially useful for Pads, but also Bass, Key and Lead sounds that have enough “body”based on their Amp Envelope settings.
Even though filters are the main tool and basis for subtractive synthesis they can now also be found in synths that use different sound design methods as their basis for sound.
FM, Physical Modeling and Granular synths also have filter sections and so do Samplers.
In addition we also have resonant filters as effects like Ableton’s Autofilter.
The difference to an EQ filter is that the artifacts of the resonance are a desirable creative tool with resonant filters (a feature not a bug) while with mixing equalizers they are not.
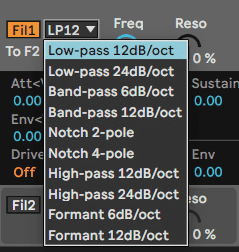
There are several different types of filters used in sound design, each with its own unique characteristics and applications. Some common types of filters include:
Low-pass filter: A low-pass filter (LP)allows low frequencies to pass through while attenuating or blocking higher frequencies. This is useful for removing high-frequency content for creating a warmer, more mellow sound or bass oriented sound.
High-pass filter: A high-pass filter (HP) allows high frequencies to pass through while attenuating or blocking lower frequencies. This is useful for removing low-frequency rumble and mud or creating a brighter, more mid or higher end focused sound.
Band-pass filter: A band-pass (BP) filter allows a range of frequencies to pass through while attenuating or blocking frequencies outside of that range.
In many synths the BP filter also comes also with a control for the width of the band. In Analog we use different “pole” numbers to create a narrower (12 dB) or wider (6 dB) band
Notch filter: A notch filter attenuates a specific frequency or narrow range of frequencies, while allowing all other frequencies to pass through. This is useful for removing unwanted resonances or feedback.
Formant Filter
This special type is used in synthesizers to create vowel-like sounds.
Formant filters work by boosting or attenuating specific frequency bands, which mimics the way that the human vocal tract alters the frequencies of sound waves as they are produced. By controlling the frequency, I-E-O-U sounds can be created when adding a resonant boost.
The rate of attenuation, boost or cut is expressed with db/oct values or Pole numbers like 2/4/8 (amount of ”Poles”) 1 pole being the same as a 6db/octave boost or cut. With higher numbers we create a more drastic slope of attenuation or boost.
Do this now
- Build a pad in Analog: two oscillators, slightly detuned, slow amp attack.
- Add a filter envelope with a slower attack than the amp envelope.
- Now shorten both envelopes to nothing and hear the same patch become a pluck.
One patch, two instruments, and the only difference is envelope times.